🌐 Pitel Portal Configuration
The Pitel Portal is the central hub where you manage your application credentials and link your VoIP push certificates to the Pitel Server.
🚀 Step-by-Step Guide
📌 Step 1: Sign Up / Login
Access the Pitel SDK Portal and sign in to your account. If you don't have one, please sign up.
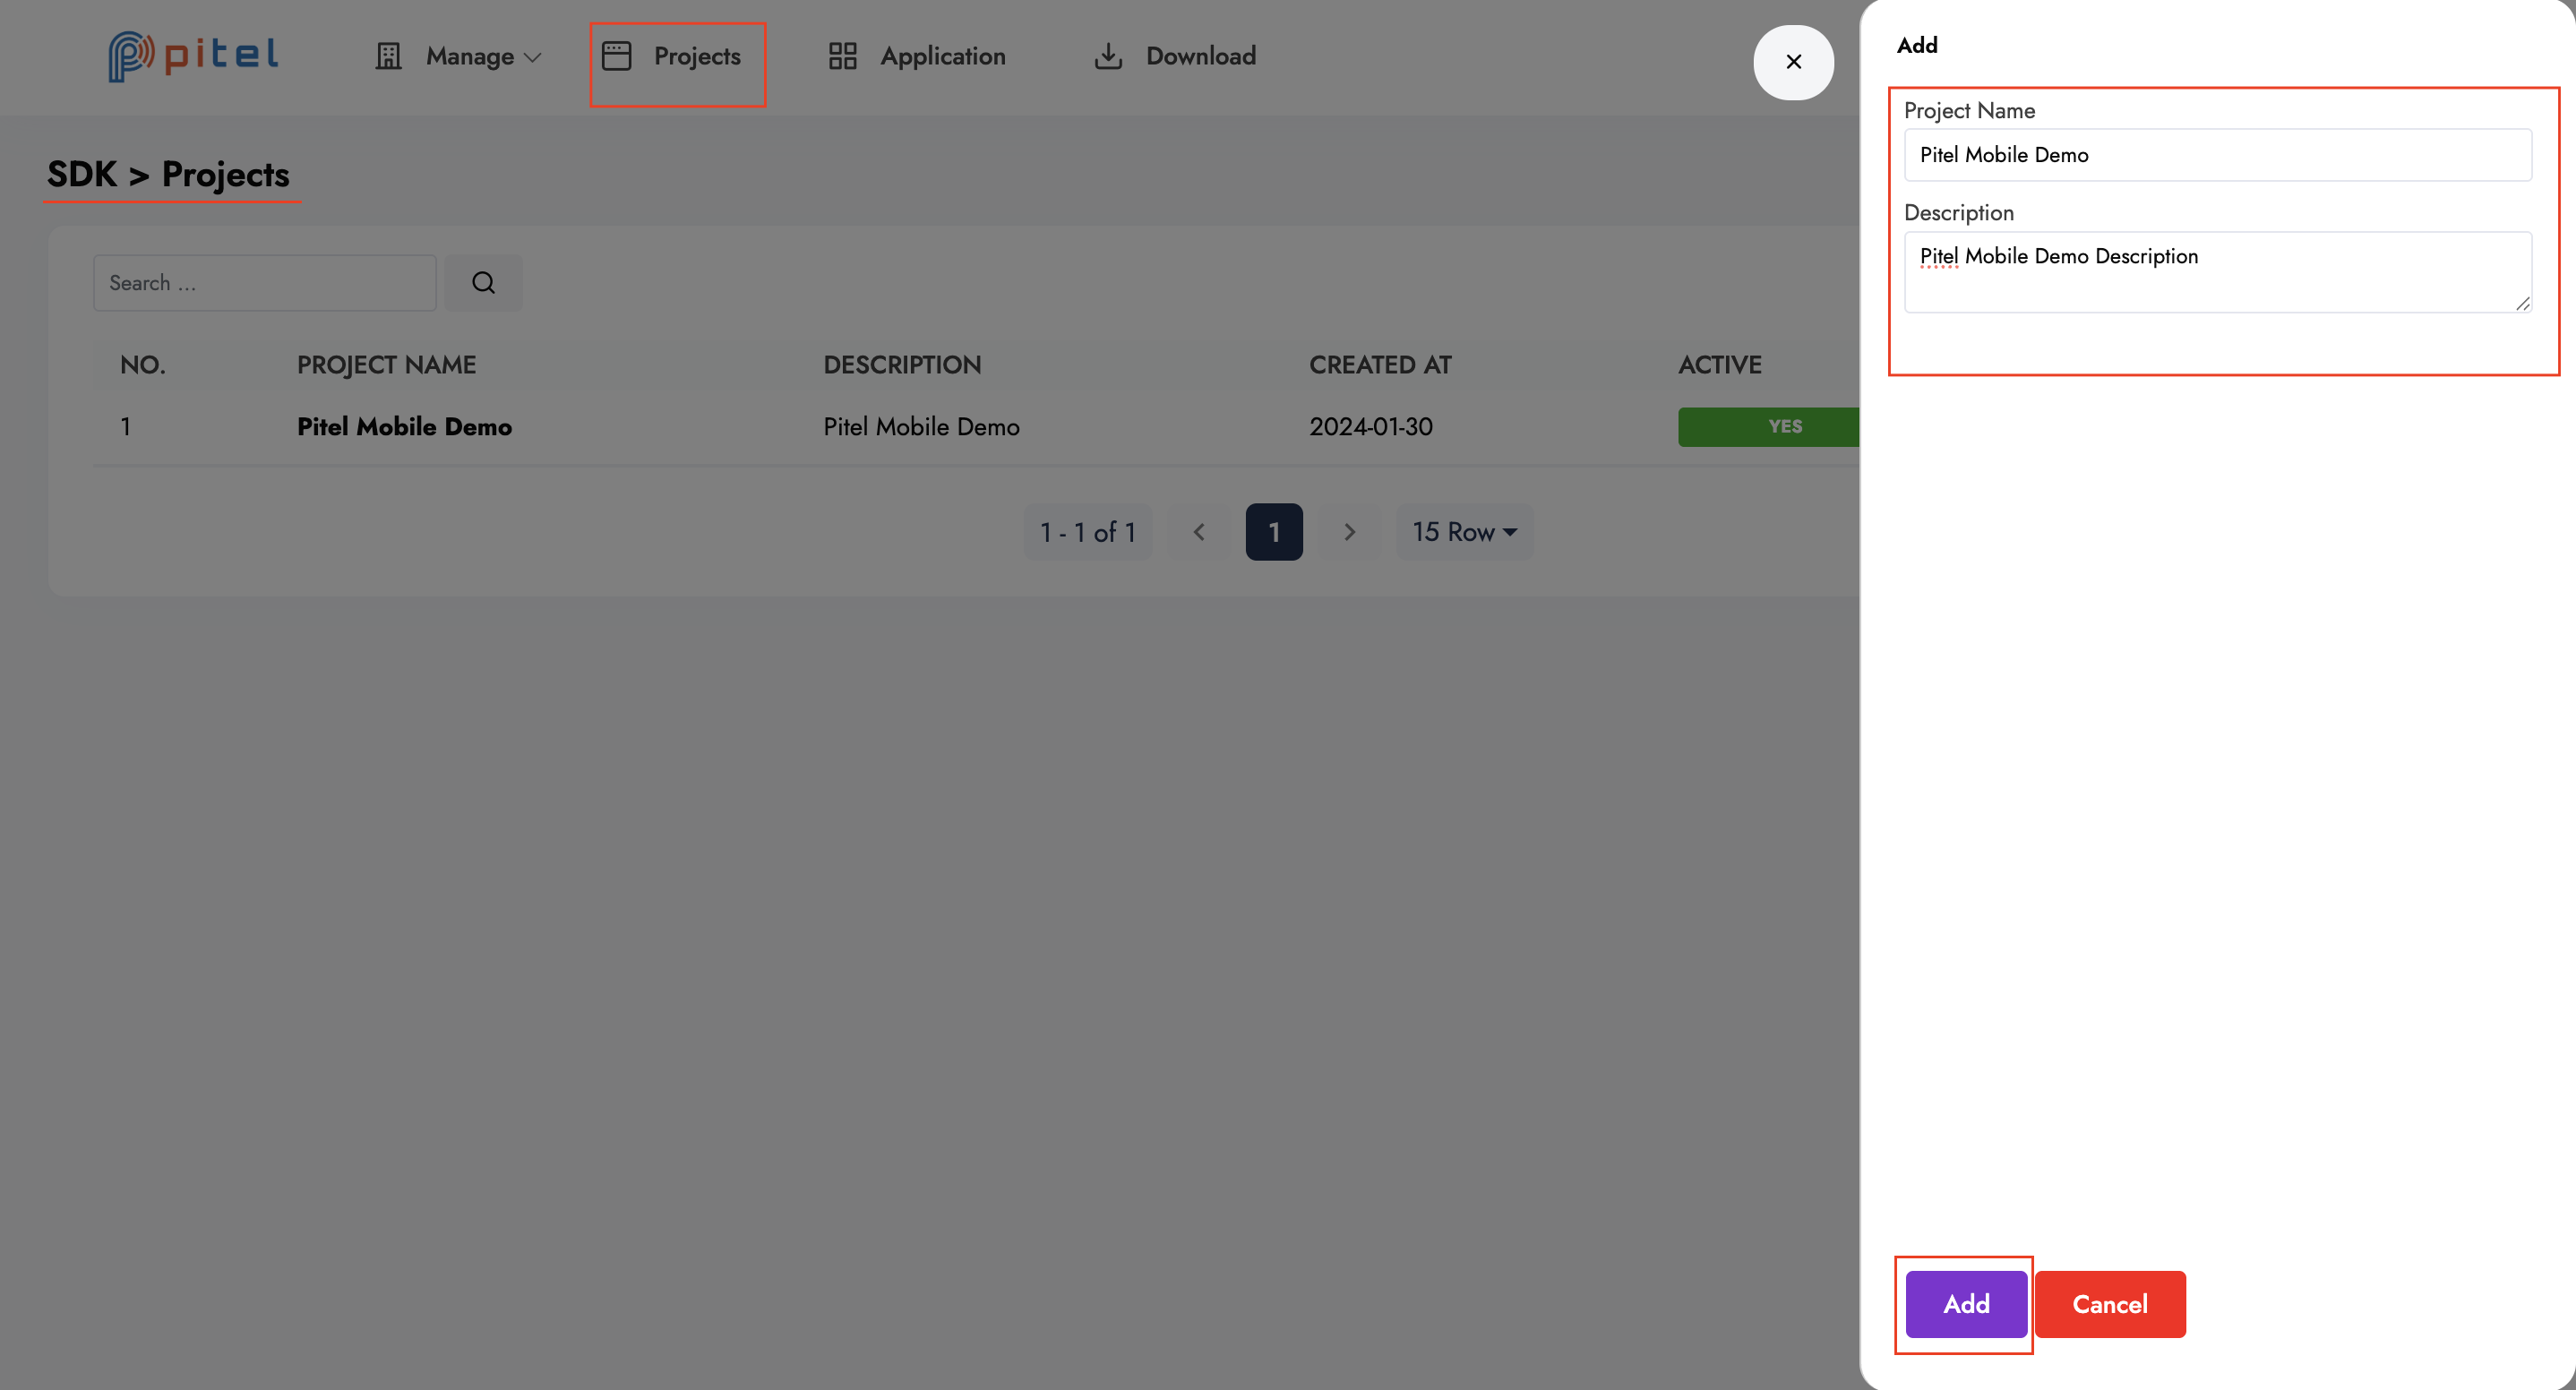
📌 Step 2: Create a New Project
- Navigate to the Projects tab in the sidebar.
- Click the "Add new" button.
- Fill in the Project Name and Description.
- Click Add to create the project.
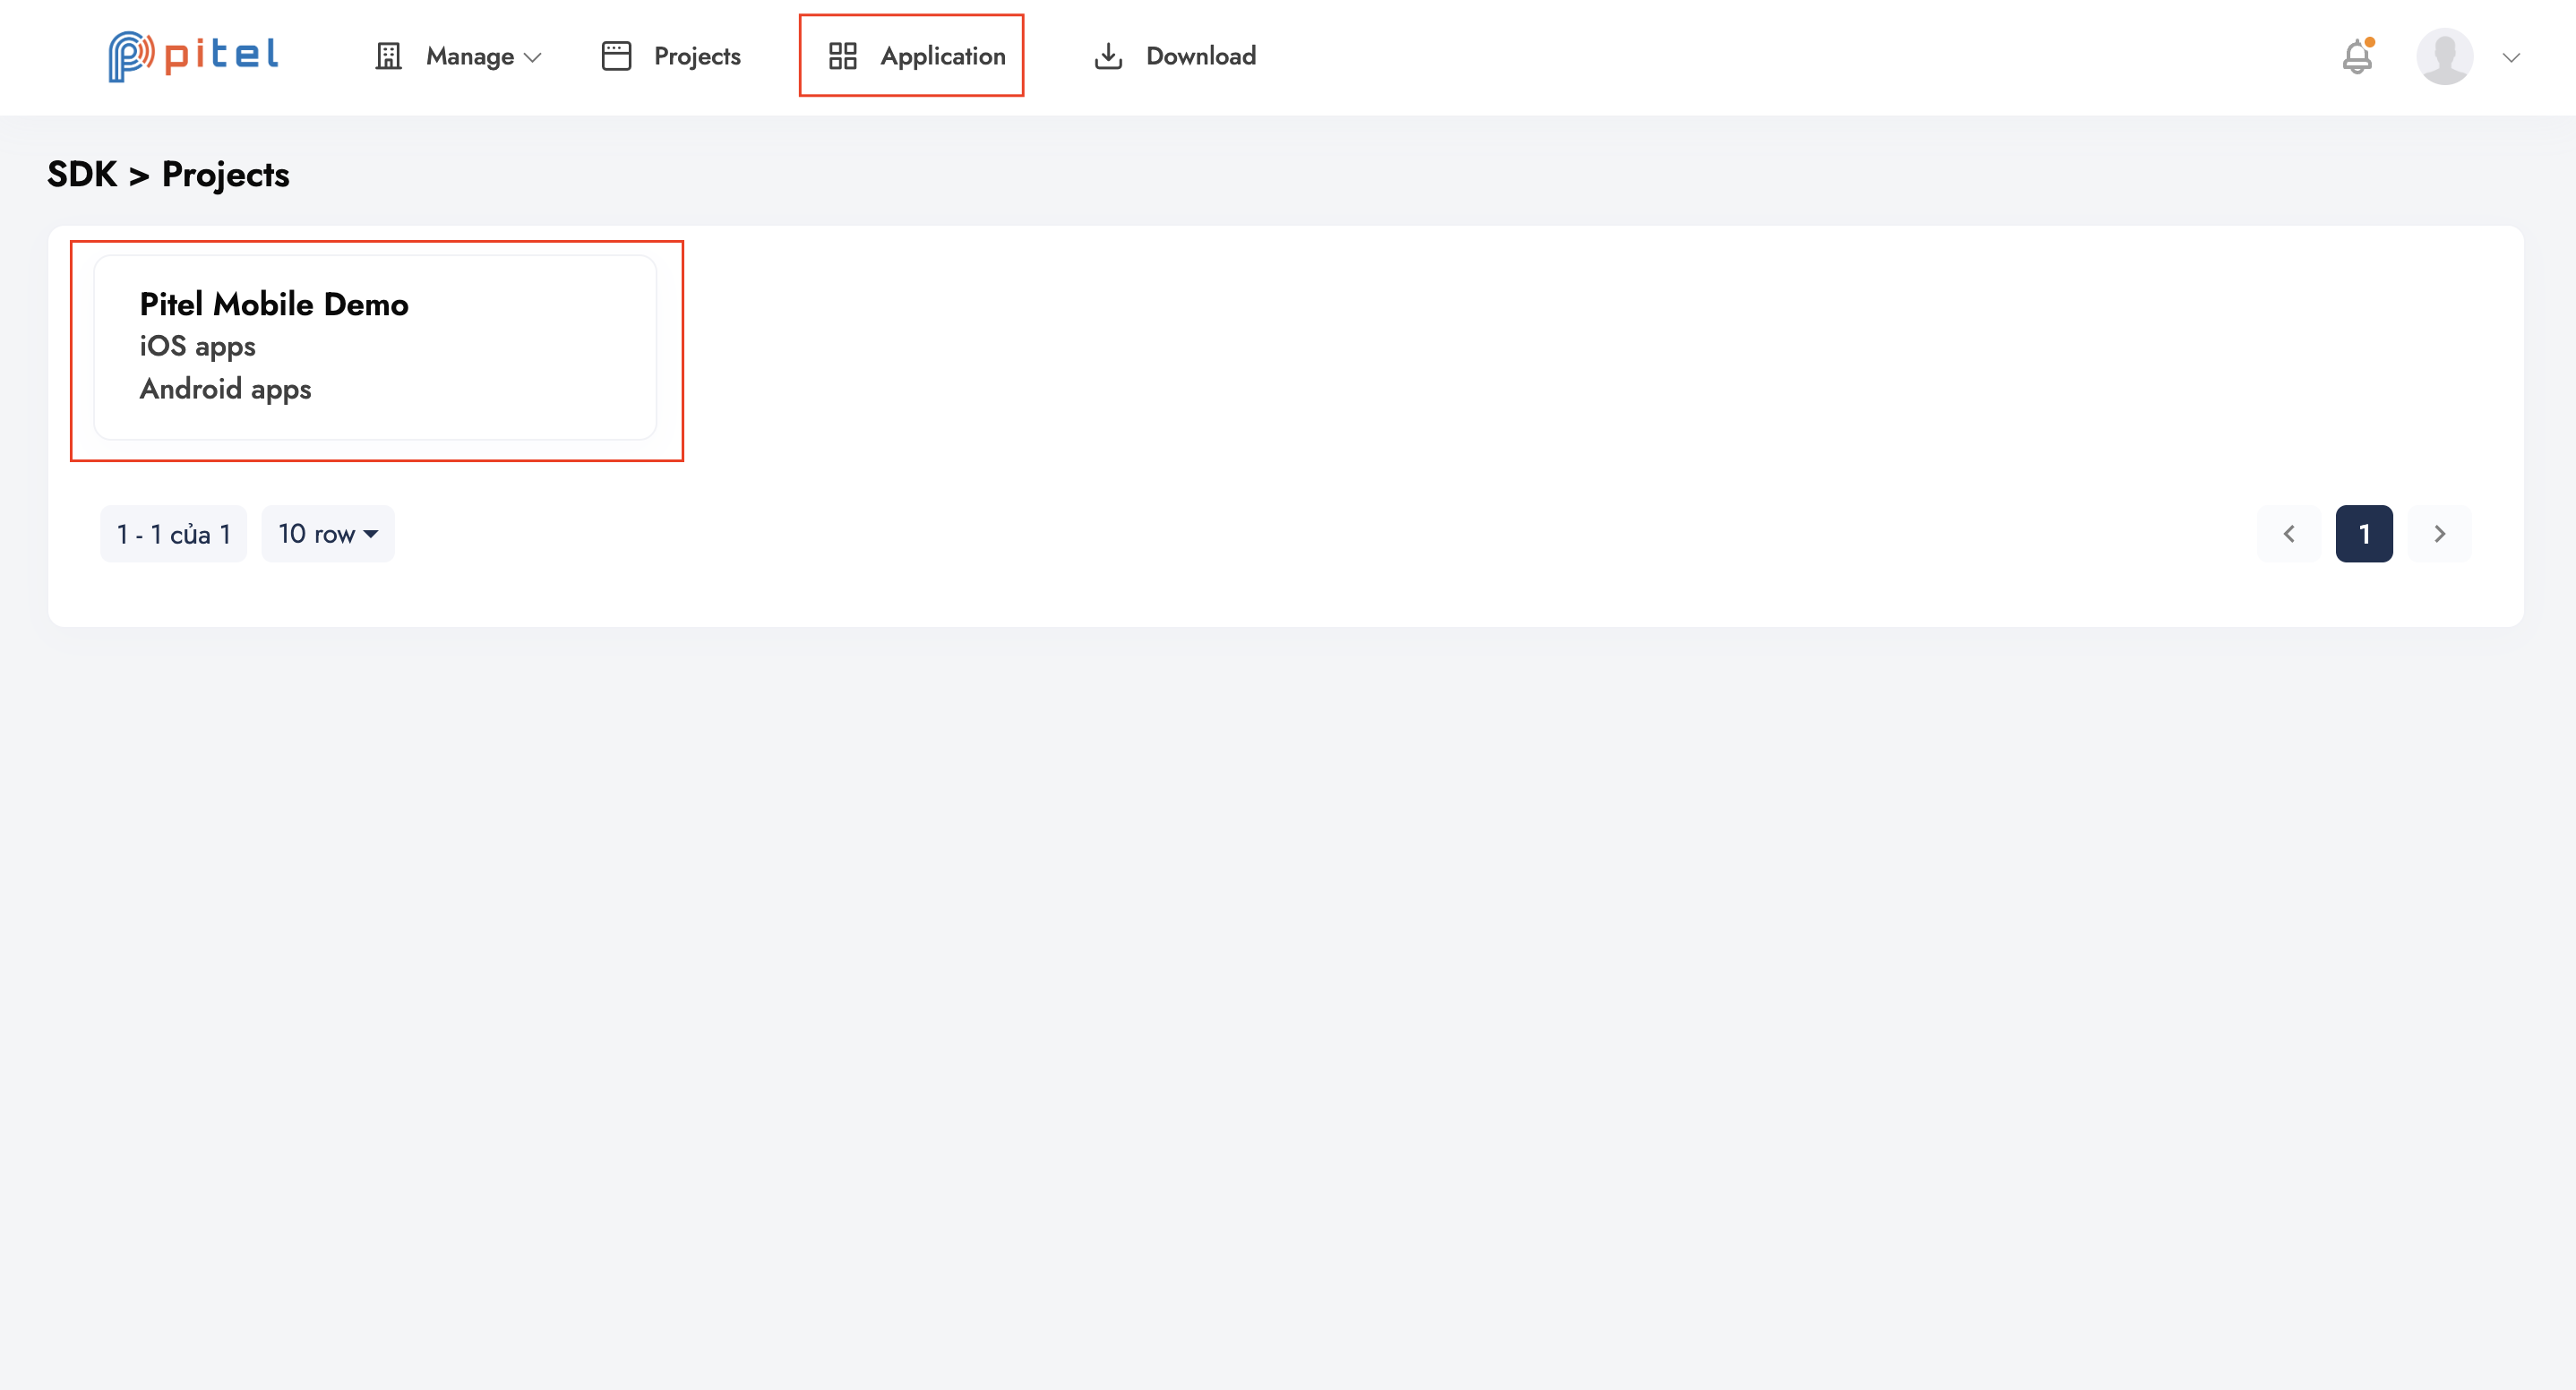
📌 Step 3: Configure Application
-
Go to the Application tab.
-
Select the project you just created from the dropdown menu.
-
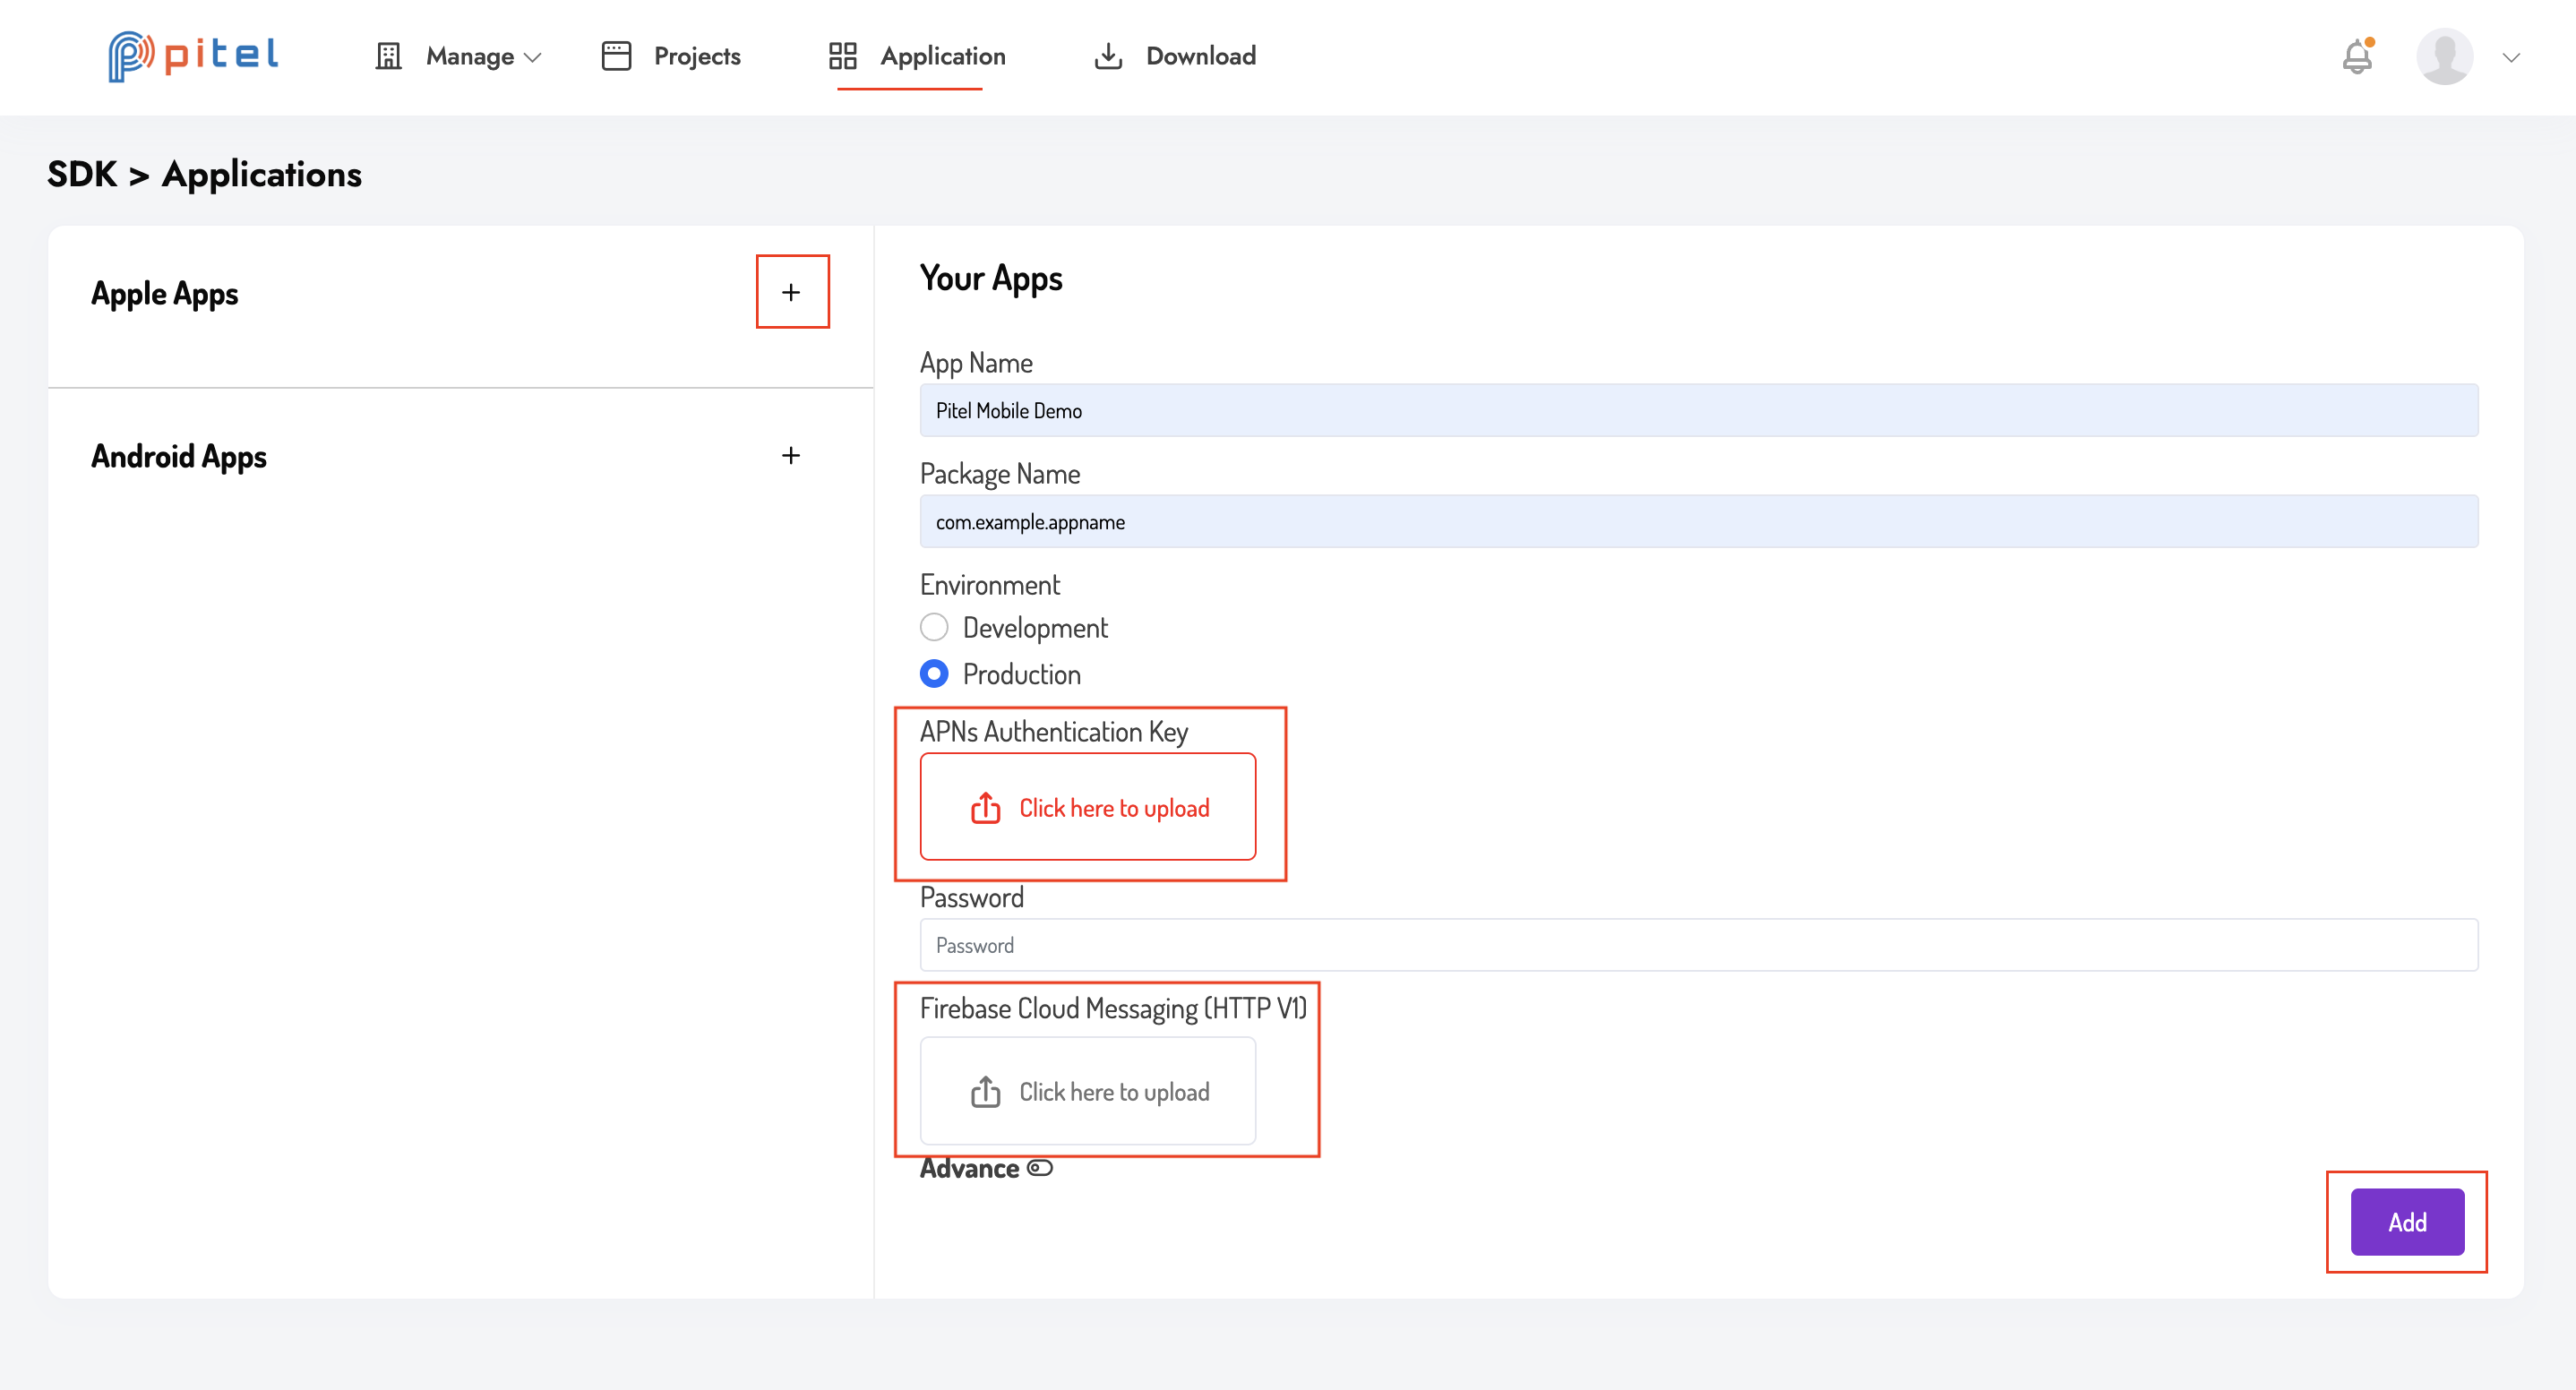
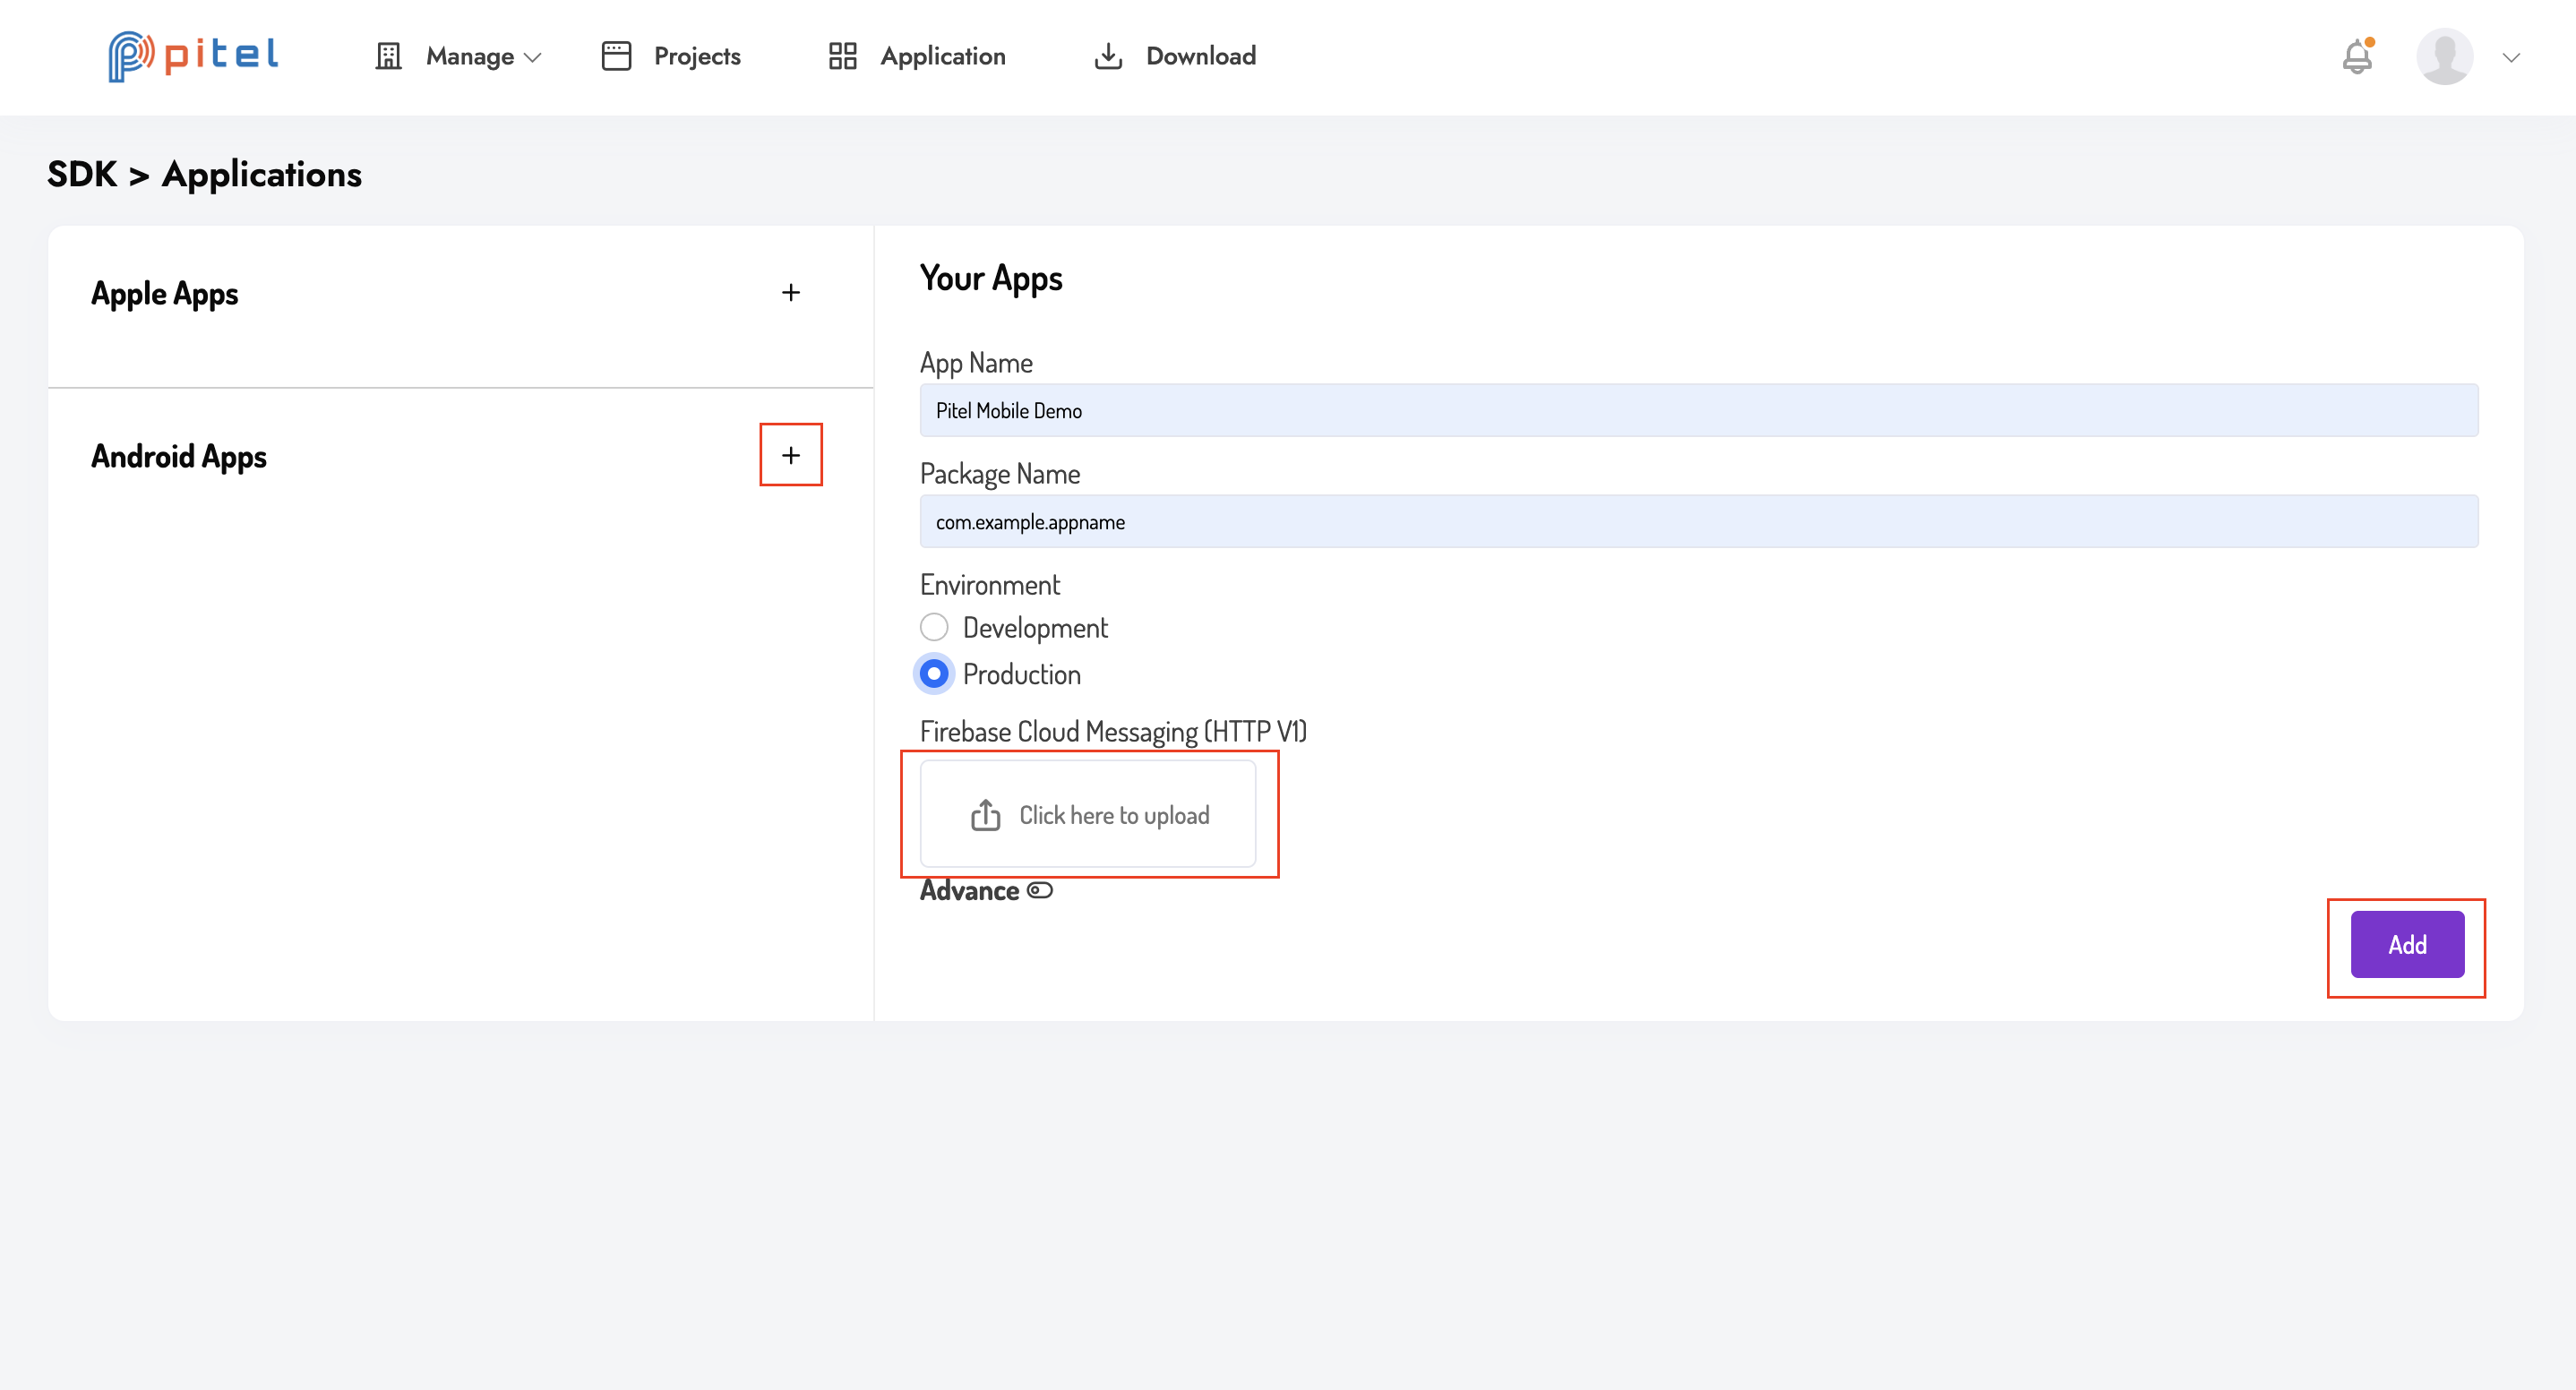
Click the Plus (+) icon to add a configuration for your platform (iOS or Android).
For iOS Configuration:
You will need to upload the certificates generated in the Push Notification Guide.
- VoIP Certificate: Upload the
.p12file (from Apple Developer). - Service Account: Upload the
.jsonfile (from Firebase).
Note for Android: If you are also configuring Android, similarly upload the required FCM keys.
✅ Completion
Once uploaded, your application is ready to receive VoIP Push Notifications from the Pitel Server.